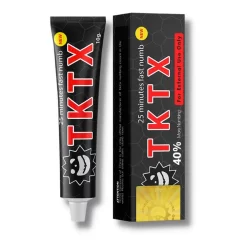
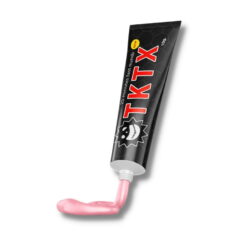
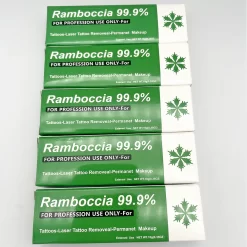
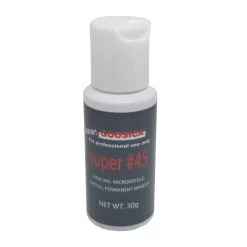
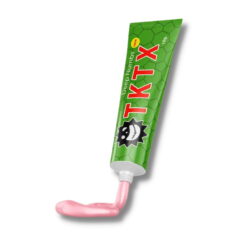
- Microblading is a popular cosmetic procedure that involves the use of a handheld tool to create hair-like strokes on the eyebrows. While the results can be stunning, the process can be uncomfortable for some people. To help alleviate any pain or discomfort, numbing cream can be applied before the procedure. In this article, we will provide expert tips for using numbing cream for microblading to achieve the best results.
- -30%$19.89 – $489.12This product has multiple variants. The options may be chosen on the product page-30%$19.89 – $489.12This product has multiple variants. The options may be chosen on the product page-30%$19.89 – $489.12This product has multiple variants. The options may be chosen on the product page-30%$19.89 – $489.12This product has multiple variants. The options may be chosen on the product page
How to Apply Numbing Cream for Microblading: A Step-by-Step Guide
If you are planning to get microblading done, it is important to know how to apply numbing cream properly to get the best results. Here is a step-by-step guide to help you through the process.
Step 1: Choose the Right Numbing Cream
The first step is to choose the right numbing cream. There are many numbing creams available in the market, but not all of them are suitable for microblading. Look for a cream that contains lidocaine, which is a local anesthetic that can numb the skin. Make sure to read the label carefully and follow the instructions.
Step 2: Cleanse the Area
Before applying the numbing cream, it is important to cleanse the area thoroughly. Use a gentle cleanser to remove any dirt, oil, or makeup from the eyebrows. This will ensure that the numbing cream can penetrate the skin properly.
Step 3: Apply the Numbing Cream
Once the area is clean, apply a thin layer of numbing cream on the eyebrows. Use a cotton swab or a brush to spread the cream evenly. Make sure to cover the entire area that will be treated. Do not apply too much cream, as it can cause adverse effects.
Step 4: Wait for the Cream to Take Effect
After applying the numbing cream, wait for it to take effect. The time it takes for the cream to work varies depending on the brand and the concentration of lidocaine. Generally, it takes around 20-30 minutes for the cream to numb the skin.
Step 5: Remove the Cream
Once the cream has taken effect, it is time to remove it. Use a clean cotton pad or a tissue to wipe off the cream gently. Do not rub the area vigorously, as it can cause irritation.
Step 6: Proceed with the Microblading Procedure
After removing the numbing cream, the microblading procedure can begin. The numbing effect can last for up to two hours, depending on the individual. During this time, you should not feel any pain or discomfort.
The Benefits of Using Numbing Cream for Microblading
Numbing cream is a topical anesthetic that is applied to the skin before the microblading procedure. It works by blocking the pain signals from the nerves in the skin, making the procedure less painful. Here are some of the benefits of using numbing cream for microblading:
1. Reduced Pain
The most obvious benefit of using numbing cream for microblading is reduced pain. The procedure involves making small incisions in the skin, which can be quite painful without any form of anesthesia. Numbing cream helps to reduce the pain and discomfort associated with the procedure, making it more tolerable for the client.
2. Increased Comfort
In addition to reducing pain, numbing cream also increases comfort during the procedure. Clients who are more comfortable are less likely to move or flinch during the procedure, which can affect the outcome of the microblading. Using numbing cream can help to ensure that the client remains still and relaxed throughout the procedure.
3. Improved Results
Using numbing cream can also lead to improved results. When clients are in pain or uncomfortable, they may move or flinch during the procedure, which can cause the strokes to be uneven or inconsistent. By using numbing cream, the client is more likely to remain still, which can lead to more precise and consistent strokes.
4. Faster Procedure
Another benefit of using numbing cream is that it can make the procedure faster. When clients are in pain or uncomfortable, they may need to take breaks during the procedure, which can prolong the process. By using numbing cream, the client is more likely to be able to tolerate the procedure for a longer period of time, which can help to speed up the process.
When using numbing cream for microblading, it is important to follow the instructions carefully to ensure the best results. Here are some expert tips for using numbing cream for microblading:
1. Choose the Right Numbing Cream
Not all numbing creams are created equal. It is important to choose a numbing cream that is specifically designed for use on the face and that contains the appropriate amount of active ingredient. Be sure to read the label carefully and follow the instructions for use.
2. Apply the Cream Correctly
To get the best results, it is important to apply the numbing cream correctly. Start by cleaning the area thoroughly with a gentle cleanser. Then, apply a thin layer of numbing cream to the area and cover it with plastic wrap. Leave the cream on for the recommended amount of time before removing it and cleaning the area again.
3. Be Patient
Numbing cream takes time to work, so it is important to be patient. Follow the instructions carefully and give the cream enough time to take effect before starting the procedure. Rushing the process can lead to uneven or inconsistent results.
4. Communicate with Your Technician
Finally, it is important to communicate with your microblading technician throughout the process. Let them know if you are experiencing any discomfort or if you need a break. By working together, you can ensure the best possible results.
Common Mistakes to Avoid When Using Numbing Cream for Microblading
One of the most common mistakes people make when using numbing cream for microblading is not applying it correctly. It is important to apply the cream evenly and generously to the entire eyebrow area. This will ensure that the cream is absorbed properly and that the entire area is numb. It is also important to apply the cream at least 30 minutes before the procedure to allow it to take effect.
Another mistake people make is not leaving the cream on for long enough. Numbing cream typically takes 20-30 minutes to take effect, but some people may need to leave it on for longer. It is important to follow the instructions on the packaging and not remove the cream too soon. If the cream is removed too soon, the procedure may be more painful than necessary.
Finally, some people make the mistake of not discussing their use of numbing cream with their technician. It is important to let the technician know that you will be using numbing cream before the procedure. This will allow them to adjust their technique accordingly and ensure that the procedure is performed safely and effectively.


